Unlock Authentic Greek Flavor: The Perfect Gyro Fries Recipe
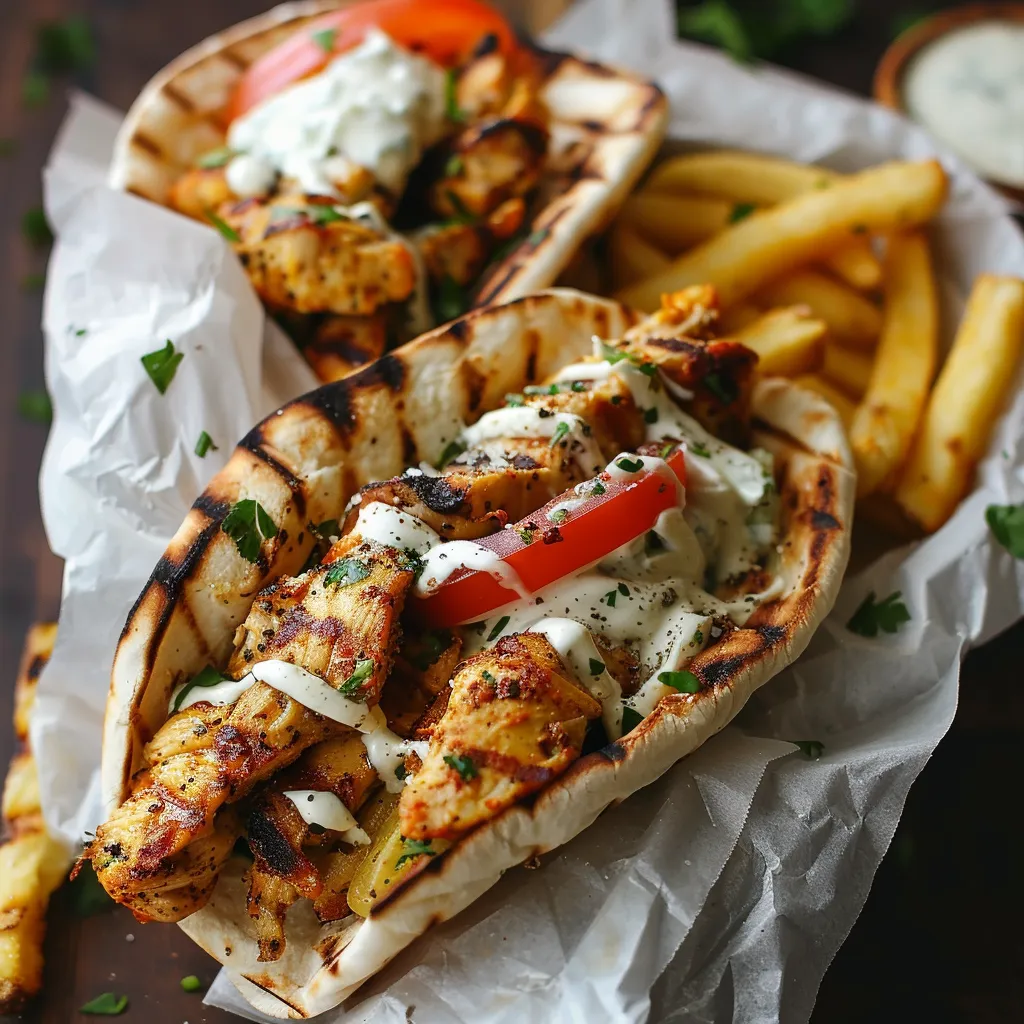
Imagine a symphony of textures and tastes, where the irresistible crunch of golden-brown fries meets succulent, spiced meat, all harmonized by the cooling embrace of creamy tzatziki. This isn't just a daydream – it's the reality of homemade
gyro fries, a culinary revelation that brings the vibrant street food culture of Greece directly to your kitchen. More than just a side dish, gyro fries are a complete and satisfying experience, perfect for a quick weeknight meal, an impressive party appetizer, or a comforting indulgence. This comprehensive guide will walk you through every step, ensuring your gyro fries are nothing short of spectacular, blending crispy perfection with authentic Mediterranean flavors.
What makes gyro fries so special? It's the delightful interplay of contrasting elements: the crispness of the potatoes, the savory richness of the gyro meat, the fresh tang of tzatziki, and the briny kick of feta and olives. While they might seem complex, our recipe focuses on efficiency and flavor, aiming to get these delicious Greek-style fries ready in approximately 20 minutes from start to finish.
The Secret to Irresistible Crisp: Perfecting Your Fries
The foundation of truly exceptional
gyro fries lies, understandably, in the fries themselves. Achieving that perfect crispy exterior with a fluffy interior is crucial. Here’s how to master it:
- Potato Selection: Not all potatoes are created equal for frying. For the best results, opt for high-starch varieties like Russet or Idaho potatoes. Their lower moisture content and high starch profile contribute significantly to a crispier finish. Look for firm, waxy potatoes at your local grocery store or farmer's market.
- Precision Cutting & Soaking: Cut your chosen potatoes into uniform, thin strips – about ¼ to ⅜ inch thick. Uniformity ensures even cooking. Once cut, transfer them to a bowl of cold water and let them soak for at least 30 minutes. This vital step helps remove excess surface starch, which is the enemy of crispiness. Less starch means a less gummy fry and a more golden, crunchy result.
- The Art of Frying Temperature: Oil temperature is paramount. Heat your preferred frying oil (vegetable, canola, or peanut oil are excellent choices) to 375°F (190°C). It’s highly recommended to use a kitchen thermometer to monitor this closely. Fluctuations in temperature can lead to soggy or greasy fries. Aim to keep the oil between 350-375°F (175-190°C) throughout the frying process. If you don’t have a thermometer, test the oil by dropping a small piece of potato; it should sizzle vigorously but not smoke excessively.
- Frying in Batches: Resist the urge to overcrowd your frying vessel. Frying in small batches is essential to maintain oil temperature and prevent the fries from sticking together. For roughly 2 lbs of potatoes, you’ll typically need 3-4 batches. This ensures each fry has ample room to cook evenly, resulting in that coveted crispy exterior and tender interior.
- Single vs. Double Fry for Ultimate Crisp: While a single fry at the correct temperature will yield delicious results, for exceptionally crispy gyro fries, consider the double-fry technique. This method is a game-changer:
- First Fry: Fry the potatoes at a lower temperature, around 325°F (160°C), for 3-4 minutes. At this stage, they'll cook through but won't be fully browned or crispy.
- Rest: Remove the fries and let them rest on a wire rack for about 10 minutes. This allows residual moisture to evaporate.
- Second Fry: Increase the oil temperature to 375°F (190°C) and fry the potatoes again for another 2-3 minutes, or until they reach a beautiful golden brown and are incredibly crispy. This final, high-heat fry creates that perfect, shattering crunch.
For more detailed guidance on achieving this ultimate crunch, you can explore resources like Master Crispy Gyro Fries: Double-Frying & Tzatziki Secrets.
- Season Immediately: As soon as the fries come out of the oil, drain them briefly on paper towels and season generously with salt while they are still hot. This ensures the salt adheres beautifully and enhances their flavor.
Crafting the Authentic Greek Toppings: Gyro Meat & Creamy Tzatziki
With your perfect fries ready, it's time to layer on the incredible flavors that truly make these "gyro" fries.
Savory Gyro Meat & Clever Substitutes
The star of the show, beyond the fries, is undoubtedly the savory gyro meat. Traditionally, gyro is made from seasoned ground beef, lamb, or a combination, cooked on a vertical rotisserie and thinly sliced.
- Sourcing: You can often find pre-cooked, thinly sliced gyro meat at specialty Greek markets, well-stocked supermarkets (check the deli or frozen foods section), or even online.
- Preparation: If you buy it pre-cooked, a quick pan-fry to warm it through and crisp up the edges is all it needs.
- Substitutions for Variety:
- Grilled Chicken or Roast Lamb: If gyro meat isn't available, thinly sliced grilled chicken breast or tender roast lamb makes for excellent, equally delicious alternatives.
- Vegetarian Version: For a delightful meat-free option, skip the gyro meat entirely. Instead, load up on extra crumbled feta, add roasted vegetables like bell peppers, zucchini, or eggplant, and a generous dollop of hummus alongside the tzatziki.
The Cooling Embrace of Tzatziki Sauce
No plate of
gyro fries is complete without a generous dollop of creamy, tangy tzatziki. This iconic Greek sauce provides a refreshing contrast to the richness of the meat and fries.
- Key Ingredients: Authentic tzatziki is a simple yet powerful combination of thick Greek yogurt, finely grated cucumber, minced garlic, fresh dill, and a touch of olive oil and salt.
- DIY vs. Store-Bought: While high-quality store-bought tzatziki is a convenient time-saver (check your deli section!), making your own allows for customization and often a fresher flavor. When making your own:
- Cucumber Prep: Grate the cucumber and then squeeze out as much excess water as possible. This prevents your tzatziki from becoming watery.
- Garlic Power: Adjust the amount of garlic to your personal taste. Some prefer a subtle hint, while others enjoy a potent kick.
- Extra Tang: For an additional layer of brightness, stir in a splash of red wine vinegar or a squeeze of fresh lemon juice.
- Dill Alternatives: Fresh dill is preferred, but if unavailable, dried dill weed can be used (use about one-third of the fresh dill amount).
- Yogurt Substitutes: If Greek yogurt is hard to find, plain sour cream or even Mexican crema can serve as decent substitutes in a pinch, though the flavor profile will shift slightly.
The Final Touches: Feta, Olives & Fresh Veggies
To truly complete your authentic
gyro fries experience, don't forget the classic Greek toppings:
- Feta Cheese: Crumbled feta adds a salty, tangy counterpoint that's simply irresistible. Look for blocks of feta in brine for the best flavor and texture, then crumble it yourself. Costco and Trader Joe's often offer great prices on quality feta.
- Kalamata Olives: Sliced Kalamata olives provide a briny, earthy depth that complements the other flavors beautifully.
- Fresh Diced Vegetables: A scattering of fresh diced tomatoes and finely chopped red onion adds color, freshness, and a pleasant textural contrast.
Assembling Your Masterpiece & Pro Tips for Success
Bringing all these incredible components together is the final, satisfying step in creating your perfect plate of
gyro fries.
The Art of Assembly
Once your fries are hot and seasoned, and your gyro meat is warmed, it’s time to build your masterpiece.
- Start with a generous bed of your perfectly crispy fries on a serving platter or individual plates.
- Pile on the warmed, savory gyro meat.
- Spoon over a liberal amount of creamy tzatziki sauce. Don't be shy!
- Finish with a vibrant sprinkle of crumbled feta cheese, sliced Kalamata olives, diced tomatoes, and a scattering of fresh red onion. A final drizzle of extra virgin olive oil and a dash of dried oregano can elevate it even further.
Serve immediately while the fries are still hot and crispy, allowing everyone to savor the explosion of flavors and textures.
Beyond the Basics: Pro Tips & Storage
*
Safety First with Oil: Always be cautious when working with hot oil. Ensure your frying area is clean and free of water, and never leave hot oil unattended.
*
Portion Control: While tempting to make a giant batch, remember that fries are best enjoyed fresh. Make enough for immediate consumption.
*
Meal Pairing: Gyro fries are hearty enough to be a meal on their own, but they also pair wonderfully with a simple Greek salad or a glass of dry white wine.
*
Efficient Preparation: To reduce the 20-minute prep time even further, prepare your tzatziki sauce in advance. It actually benefits from a few hours in the fridge for the flavors to meld.
* For an even quicker turnaround, explore guides like
How to Make Crispy Gyro Fries in Just 20 Minutes for streamlined techniques.
Storage and Reheating
While best enjoyed fresh, sometimes you might have leftovers:
- Leftover Fries: Store cooled, cooked fries in an airtight container for up to 1 day. To reheat and regain crispness, spread them on a baking sheet and bake in an oven preheated to 400°F (200°C) for about 10 minutes, or until heated through and crispy.
- Freezing Fries: Cooked fries can be frozen for longer storage. Arrange them in a single layer on a baking sheet and freeze until solid, then transfer to a freezer bag. They’ll keep for up to 3 months. Reheat from frozen in a hot oven.
- Tzatziki Sauce: Keep tzatziki refrigerated in an airtight container. It will stay fresh for up to 5 days. Give it a good stir before serving if it has separated slightly.
Conclusion
There's an undeniable magic in a perfectly executed plate of
gyro fries. It’s a dish that effortlessly combines comfort food appeal with exotic, authentic flavors, proving that extraordinary culinary experiences don't always require hours in the kitchen. By focusing on crispy fries, savory gyro meat, and a vibrant tzatziki, you can recreate this beloved Greek street food sensation with confidence. So, gather your ingredients, follow these tips, and prepare to embark on a delicious journey to the sun-drenched streets of Greece, one irresistible bite at a time. Enjoy your homemade Greek feast!